.avif)
You can install the app, for free, here
To start using the app, navigate to the workflows menu by clicking Automations then Workflows in the sidebar.

Create a new workflow by clicking the "Create Workflow" button then clicking "From Scratch"

Initialise the workflow with a new trigger, here we are triggering the workflow anytime a new company is created.
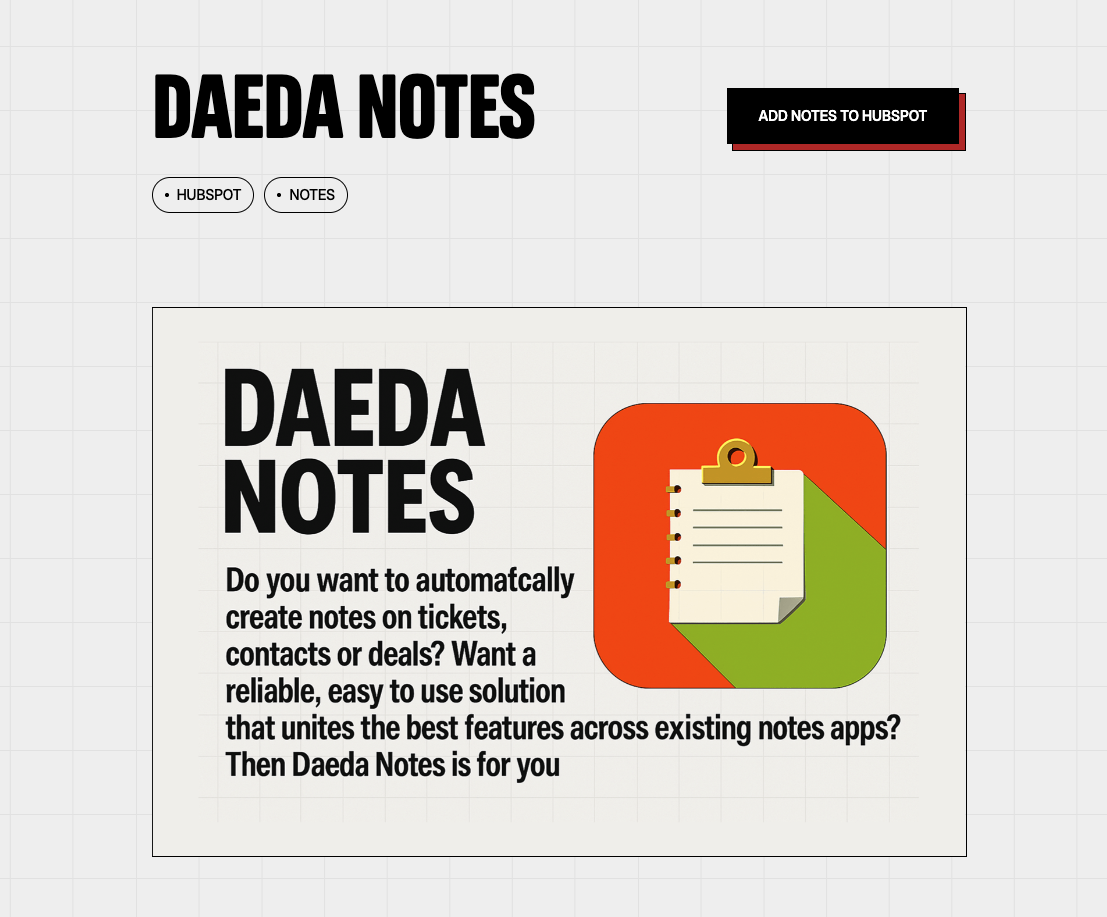
In the sidebar, you can see our Daeda Notes app.

In the sidebar, click "Daeda Notes" then "Create Note" to use the create note node.
You can select the owner the note is created under, you can choose "Pinned" if you'd like to have the note pinned on this record, and you can customise the body.

Here we want to add an image note. To start we've taken a picture of the company website using Daeda Screenshots, then we're setting up the Image Note with the screenshots url.
Now, when we run this workflow, we'll automatically get a screenshot of the companies image.

Now we can review and save this entire workflow.
Once enabled, it will automatically add notes and website screenshots to the newly created company.

.svg)
.avif)